
Installation and configuration
This section summarizes the steps required to install a wis2box instance and set up datasets using the initial configuration files
provided by using the wis2box-create-config.py script.
Ensure that Docker, Docker Compose and Python are installed on the host, and that the system and network requirements are met.
Download
Download wis2box-setup-1.3.0.zip from the wis2box release page page and unzip using the following commands:
wget https://github.com/World-Meteorological-Organization/wis2box-release/releases/download/1.3.0/wis2box-setup-1.3.0.zip
unzip wis2box-setup-1.3.0.zip
cd wis2box
Create initial configuration files
Run the following command to create the initial configuration files for your wis2box:
python3 wis2box-create-config.py
Note
The
wis2box-create-config.pyscript will ask for a directory to store the configuration files. Please provide the absolute path to the directory where you want to store the configuration files, for example/home/wis2box-user/wis2box-data. This directory will be mapped to/data/wis2boxinside the wis2box-management container.
The script will also ask for the URL of your wis2box. Please provide the public URL of your wis2box, for example http://mywis2box.example.com.
For testing purpose you can also provide the internal IP address you use to access the host, for example http://192.168.0.3 and you change the URL in configuration files at a later point in time.
The script will propose to automatically create a password for WIS2BOX_WEBAPP_PASSWORD. This password is used to access the wis2box-webapp interface.
The script will also propose to automatically create passwords for WIS2BOX_STORAGE_PASSWORD and WIS2BOX_BROKER_PASSWORD.
These passwords are for internal use only within the wis2box, and it is recommended to accept the randomly generated passwords.
The script will have created a file wis2box.env with the configuration settings required to start your wis2box.
Note
You can edit the environment variables WIS2BOX_BASEMAP_URL and WIS2BOX_BASEMAP_ATTRIBUTION
in wis2box.env to customize the base-map URL and attribution that will be used in the wis2box frontends.
Starting wis2box
Once you have prepared the necessary configuration files as described above you are ready to start the wis2box.
Run the following command to start wis2box:
python3 wis2box-ctl.py start
When running this command for the first time, you will see the following output:
No docker-compose.images-*.yml files found, creating one
Current version=Undefined, latest version=1.3.0
Would you like to update ? (y/n/exit)
Select y and the the script will create the file docker-compose.images-1.3.0.yml file, download the required Docker images and start the services.
Downloading the images may take some time depending on your internet connection speed. This step is only required the first time you start wis2box.
Note
The wis2box-ctl.py program is used as a convenience utility around a set of Docker Compose commands.
You can customize the ports exposed on your host by editing docker-compose.override.yml.
Note
In case you get errors from the Docker daemon stating ‘Permission denied’, such as:
docker.errors.DockerException: Error while fetching server API version: ('Connection aborted.', PermissionError(13, 'Permission denied'))
Please ensure your username is added to the Docker group using the command:
sudo usermod -aG docker <your-username>.
Logout and log back in so that your group membership is re-evaluated.
Once the command above is completed, check that all services are running (and healthy).
python3 wis2box-ctl.py status
Check that all services are Up and not unhealthy:
         Name                       Command                  State                           Ports
-----------------------------------------------------------------------------------------------------------------------
elasticsearch            /bin/tini -- /usr/local/bi ...   Up (healthy)   9200/tcp, 9300/tcp
grafana                  /run.sh                          Up             0.0.0.0:3000->3000/tcp
loki                     /usr/bin/loki -config.file ...   Up             3100/tcp
mosquitto                /docker-entrypoint.sh /usr ...   Up             0.0.0.0:1883->1883/tcp, 0.0.0.0:8884->8884/tcp
mqtt_metrics_collector   python3 -u mqtt_metrics_co ...   Up             8000/tcp, 0.0.0.0:8001->8001/tcp
nginx                    /docker-entrypoint.sh ngin ...   Up             0.0.0.0:80->80/tcp
prometheus               /bin/prometheus --config.f ...   Up             9090/tcp
wis2box                  /entrypoint.sh wis2box pub ...   Up
wis2box-api              /app/docker/es-entrypoint.sh     Up
wis2box-auth             /entrypoint.sh                   Up
wis2box-minio            /usr/bin/docker-entrypoint ...   Up (healthy)   0.0.0.0:9000->9000/tcp, 0.0.0.0:9001->9001/tcp
wis2box-ui               /docker-entrypoint.sh ngin ...   Up             0.0.0.0:9999->80/tcp
wis2box-webapp           sh /wis2box-webapp/ ...          Up (healthy)   4173/tcp
Refer to the Troubleshooting section if this is not the case.
Check HTTP interfaces on web-proxy
wis2box includes the web-proxy-service, which is a web proxy based on nginx. It is configured to listen on port 80 and port 443 on the host, and it proxies requests to the various services in wis2box.
To verify that the web-proxy is running and accepting connections, check the following URLs in a web browser:
Check the wis2box API is available at WIS2BOX_URL/oapi:
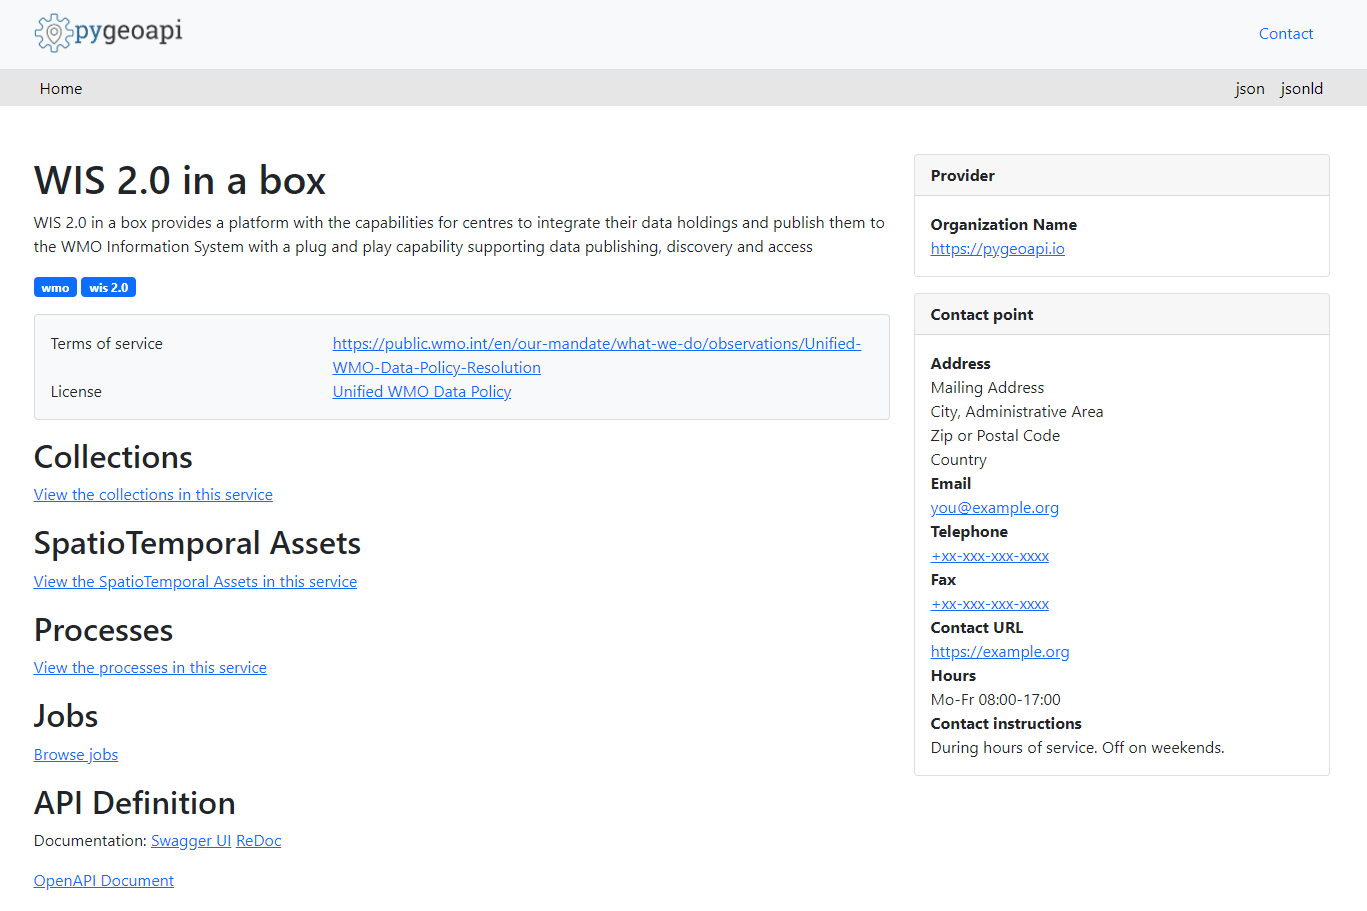
Check the wis2box user interface is available at WIS2BOX_URL/ (note that no datasets are configured yet):

Check the proxy to the “wis2box-public” bucket from the storage service is available at WIS2BOX_URL/data/
(make sure to add a trailing slash after data):

Check MQTT connection
wis2box includes the wis2box-broker service, which is a MQTT broker based on mosquitto.
Check that the wis2box-broker is running and accepting connections using MQTT Explorer or by using a command line tool such as mosquitto_sub.
Two sets of MQTT users are automatically pre-configured when first starting wis2box:
everyone
This user is used for public access to the MQTT broker and has readonly access on the
origin/a/wis2/#topic.This user can be used to allow the WIS2 Global Broker to subscribe to the wis2box.
username=everyone,password=everyone
wis2box
This user is used by wis2box services to publish data to the MQTT broker and has read/write access to
origin/a/wis2/#topic.username=wis2box,password=WIS2BOX_BROKER_PASSWORD(as defined inwis2box.env).
The wis2box MQTT broker is available on port 1883 on the host.
The web-proxy also enables access to the MQTT broker via WebSockets on port 80 on the path /mqtt.
See the section Public services setup for information on adding SSL encryption to the MQTT broker.
Next steps
The next step is to configure datasets.