
Installation and configuration
This section summarizes the steps required to install a wis2box instance and setup your own datasets using example configurations.
Ensure you have Docker, Docker Compose and Python installed on your host, as detailed in Getting started.
Download
Download the wis2box setup files from the wis2box Releases page. Go to the latest release
and download the wis2box-setup-1.0b4.zip file from the Assets section.
wget https://github.com/wmo-im/wis2box/releases/download/1.0b4/wis2box-setup-1.0b4.zip
unzip wis2box-setup-1.0b4.zip
cd wis2box-1.0b4
Environment variables
wis2box uses environment variables from dev.env to its containers on startup.
An example file is provided in examples/config/wis2box.extended.env.
Copy this file to your working directory, and update it to suit your needs.
cp examples/config/wis2box.env dev.env
Note
Please ensure you set WIS2BOX_BROKER_PASSWORD and WIS2BOX_STORAGE_PASSWORD to your own unique values.
You will use these passwords to connect to your broker and MinIO storage to help you debug your wis2box services.
Do not share these passwords with external parties.
Note
You must map WIS2BOX_HOST_DATADIR to the absolute path of a directory on your host machine. This path will be mapped to /data/wis2box inside the wis2box-management container.
To enable external data sharing you must set WIS2BOX_URL to the URL pointing to where your host is exposed on the public network.
For example you can create a wis2box-data directory in your home directory as follows:
mkdir /home/<your-username>/wis2box-data
And you can edit dev.env to match the location
WIS2BOX_HOST_DATADIR=/home/<your-username>/wis2box-data
Data mappings
wis2box configuration requires a data mappings file, which defines the plugins used to process your data. Example mapping files are included in the release archive:
synop-bufr-mappings.yml, input is binary data (BUFR) defined by a.bufrextensionsynop-csv-mappings.yml, input is comma-separated-values defined by a.csvextensionsynop-synop-mappings.yml, input is SYNOP defined with a.txtextension
For example, if your incoming data contains .bufr4 files containing synoptic observations, you can copy the following example:
cp examples/config/synop-bufr-mappings.yml ~/wis2box-data/data-mappings.yml
Note
The file should be called data-mappings.yml and should be placed in the directory you defined as WIS2BOX_HOST_DATADIR.
Edit ~/wis2box-data/data-mappings.yml:
Replace
countrywith your corresponding ISO 3166 alpha-3 country code in lowercaseReplace
centre_idwith the string identifying the centre running your wis2node in lowercase, alphanumeric characters
If you need to define multiple datasets, you can add multiple entries in your data-mappings.yml. For example:
data:
   ita.italy_wmo_demo.data.core.weather.surface-based-observations.synop:
     plugins:
         bufr:
             - plugin: wis2box.data.bufr4.ObservationDataBUFR
               notify: true
               buckets:
                 - ${WIS2BOX_STORAGE_INCOMING}
               file-pattern: '*'
         bufr4:
             - plugin: wis2box.data.bufr2geojson.ObservationDataBUFR2GeoJSON
               buckets:
                 - ${WIS2BOX_STORAGE_PUBLIC}
               file-pattern: '^WIGOS_(\d-\d+-\d+-\w+)_.*\.bufr4$'
   ita.italy_wmo_demo.data.core.weather.surface-based-observations.temp:
     plugins:
         bufr:
             - plugin: wis2box.data.bufr4.ObservationDataBUFR
               notify: true
               buckets:
                 - ${WIS2BOX_STORAGE_INCOMING}
               file-pattern: '*'
         bufr4:
             - plugin: wis2box.data.bufr2geojson.ObservationDataBUFR2GeoJSON
               buckets:
                 - ${WIS2BOX_STORAGE_PUBLIC}
               file-pattern: '^WIGOS_(\d-\d+-\d+-\w+)_.*\.bufr4$'
In this case the data mappings configuration has specified 2 datasets (SYNOP, and TEMP).
You can also combine input for the same dataset provided in different formats. For example, if you would like to process input data that is provided both as SYNOP and binary data:
data:
   ita.italy_wmo_demo.data.core.weather.surface-based-observations.synop:
     plugins:
         bufr:
             - plugin: wis2box.data.bufr4.ObservationDataBUFR
               notify: true
               buckets:
                 - ${WIS2BOX_STORAGE_INCOMING}
               file-pattern: '*'
         csv:
             - plugin: wis2box.data.csv2bufr.ObservationDataCSV2BUFR
               template: synop_bufr.json
               notify: true
               file-pattern: '*'
         bufr4:
             - plugin: wis2box.data.bufr2geojson.ObservationDataBUFR2GeoJSON
               buckets:
                 - ${WIS2BOX_STORAGE_PUBLIC}
               file-pattern: '^WIGOS_(\d-\d+-\d+-\w+)_.*\.bufr4$'
Note
The dataset identifier is used to define the topic hierarchy for your data (see WIS2 topic hierarchy). The top 3 levels of the WIS2 topic hierarchy (origin/a/wis2) are automatically included by wis2box when publishing your data.
dataset: ita.italy_wmo_demo.data.core.weather.surface-based-observations.synop
topic-hierarchy: origin/a/wis2/ita/italy_wmo_demo/data/core/weather/surface-based-observations/synop
Note
In these examples, files in the wis2box-incoming storage bucket are processed to produce .bufr4 stored in the wis2box-public storage bucket, using either the bufr4.ObservationDataBUFR or the wis2box.data.csv2bufr.ObservationDataCSV2BUFR plugins.
Files in the wis2box-public storage bucket are converted to GeoJSON and stored in the wis2box API backend using the wis2box.data.bufr2geojson.ObservationDataBUFR2GeoJSON plugin.
You can provide your own plugins as needed; for more information (see Extending wis2box).
Station metadata list
wis2box requires information about the stations for which you will be sharing data.
An example of the configuration file for the stations is provided in station_list.csv.
You can copy this file to metadata/station/station_list.csv in your $WIS2BOX_HOST_DATADIR :
mkdir -p ~/wis2box-data/metadata/station
cp examples/config/station_list.csv ~/wis2box-data/metadata/station
And edit ~/wis2box-data/metadata/station/station_list.csv to include the data for your stations.
Note
The station_list.csv requires column names station_name and the wigos_station_identifier (WSI) with which the station is registered in OSCAR. Optionally, you can provide a traditional_station_identifier (TSI) column.
The TSI can be left empty if your data contains a WSI. If your data contains a TSI but no WSI, the station_list.csv will be used to derive the corresponding WSI for that station.
Discovery metadata
Discovery metadata provides the data description needed for users to discover your data when searching the WIS2 Global Discovery Catalogue.
Updated discovery metadata records are shared globally through the MQTT endpoint defined in your wis2box.
Discovery metadata records can be defined using the YAML syntax shared via WIS2BOX_HOST_DATADIR.
An example is provided in surface-weather-observations.yml. Each dataset requires its own discovery metadata configuration file.
You can copy the file surface-weather-observations.yml to the directory defined for WIS2BOX_HOST_DATADIR:
cp examples/config/surface-weather-observations.yml ~/wis2box-data/metadata/station
And update it to provide the correct discovery metadata for your dataset:
replace
[country].[centre_id].data.core.weather.surface-based-observations.synopwith the topic as previously used in$WIS2BOX_HOST_DATADIR/data-mappings.ymltext provided in
identification.titleandidentification.abstractwill be displayed in the wis2box user interfaceprovide a valid geographic bounding box in
identification.extents.spatial.bbox
Starting wis2box
Once you have prepared the necessary configuration files as described above you are ready to start the wis2box.
Run the following command to start wis2box:
python3 wis2box-ctl.py start
This might take a while the first time, as Docker images will be downloaded.
Note
The wis2box-ctl.py program is used as a convenience utility around a set of Docker Compose commands.
You can customize the ports exposed on your host by editing docker-compose.override.yml.
Note
If you get the error:
docker.errors.DockerException: Error while fetching server API version: ('Connection aborted.', PermissionError(13, 'Permission denied'))
Please ensure your username is added to the docker group sudo usermod -aG docker <your-username>.
Logout and log back in so that your group membership is re-evaluated.
Once the command above is completed, check that all services are running (and healthy).
python3 wis2box-ctl.py status
Which should display the following:
         Name                       Command                  State                           Ports
-----------------------------------------------------------------------------------------------------------------------
cadvisor                 /usr/bin/cadvisor -logtostderr   Up (healthy)   8080/tcp
elasticsearch            /bin/tini -- /usr/local/bi ...   Up (healthy)   9200/tcp, 9300/tcp
grafana                  /run.sh                          Up             0.0.0.0:3000->3000/tcp
loki                     /usr/bin/loki -config.file ...   Up             3100/tcp
mosquitto                /docker-entrypoint.sh /usr ...   Up             0.0.0.0:1883->1883/tcp, 0.0.0.0:8884->8884/tcp
mqtt_metrics_collector   python3 -u mqtt_metrics_co ...   Up             8000/tcp, 0.0.0.0:8001->8001/tcp
nginx                    /docker-entrypoint.sh ngin ...   Up             0.0.0.0:80->80/tcp
prometheus               /bin/prometheus --config.f ...   Up             9090/tcp
wis2box                  /entrypoint.sh wis2box pub ...   Up
wis2box-api              /app/docker/es-entrypoint.sh     Up
wis2box-auth             /entrypoint.sh                   Up
wis2box-minio            /usr/bin/docker-entrypoint ...   Up (healthy)   0.0.0.0:9000->9000/tcp, 0.0.0.0:9001->9001/tcp
wis2box-ui               /docker-entrypoint.sh ngin ...   Up             0.0.0.0:9999->80/tcp
Refer to the Troubleshooting section if this is not the case.
You should now be able to view collections on the wis2box API by visiting http://localhost/oapi/collections in a web browser, which should appear as follows:
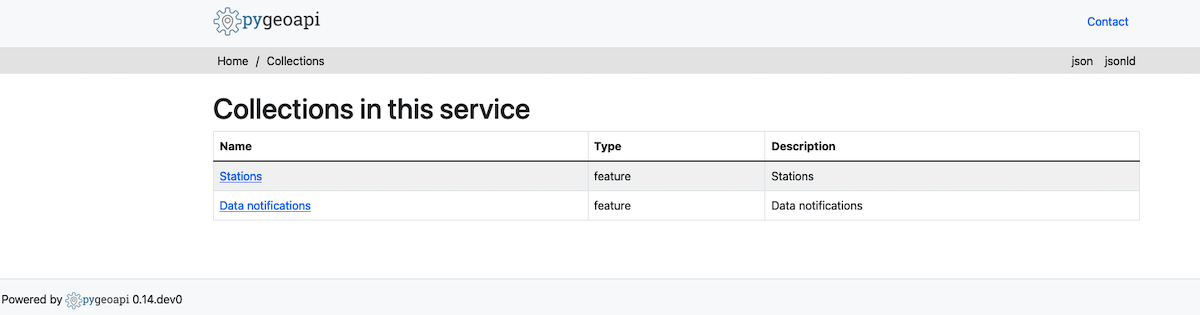
The API will show one (initially empty) collection ‘Data Notifications’. This collection will be filled when you start ingesting data and publishing WIS2 notifications.
Note
Additional collections will be added during the runtime configuration.
Runtime configuration
The following last design time steps are then required once wis2box is running.
Login to the wis2box-management container
python3 wis2box-ctl.py login
Note
$WIS2BOX_DATADIR is the location that $WIS2BOX_HOST_DATADIR binds to inside the container.
This allows wis2box to access the configuration files from inside the wis2box-management container.
By default, WIS2BOX_DATADIR points to /data/wis2box inside the wis2box-management container.
The first step is add the new dataset as defined by the YAML file for your discovery metadata record defined previously, using the following command:
wis2box data add-collection ${WIS2BOX_HOST_DATADIR}/surface-weather-observations.yml
Note
If you see an error like ValueError: No plugins for XXX defined in data mappings, exit the wis2box-container and edit the data-mappings.yml file in the directory defined by WIS2BOX_HOST_DATADIR
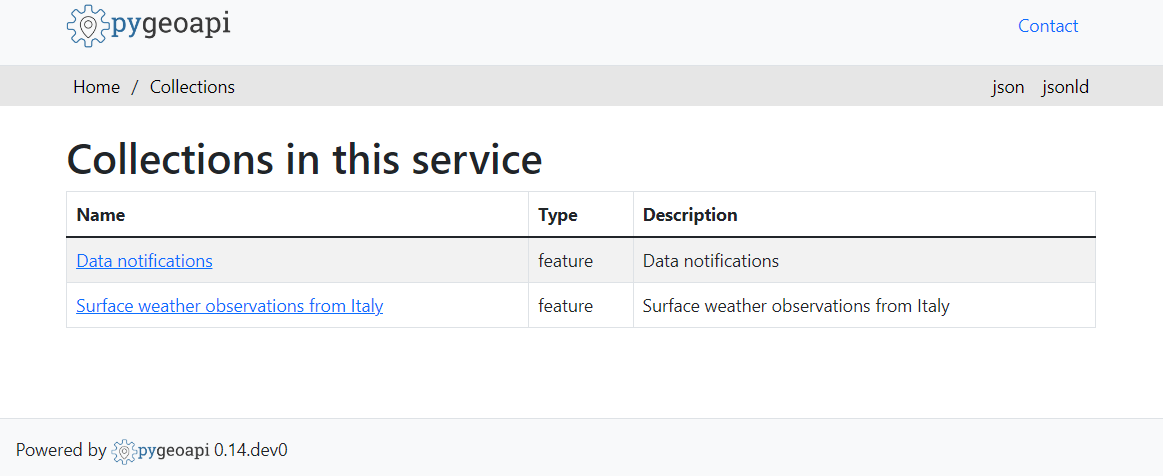
You can view the collection you just added, by re-visiting http://localhost/oapi/collections in a web browser.
The second step is to publish discovery metadata and cache its content in the wis2box API:
wis2box metadata discovery publish ${WIS2BOX_HOST_DATADIR}/surface-weather-observations.yml
This command publishes an MQTT message with information about your dataset to the WIS2 Global Discovery Catalogue. Repeat this command whenever you have to provide updated metadata about your dataset.
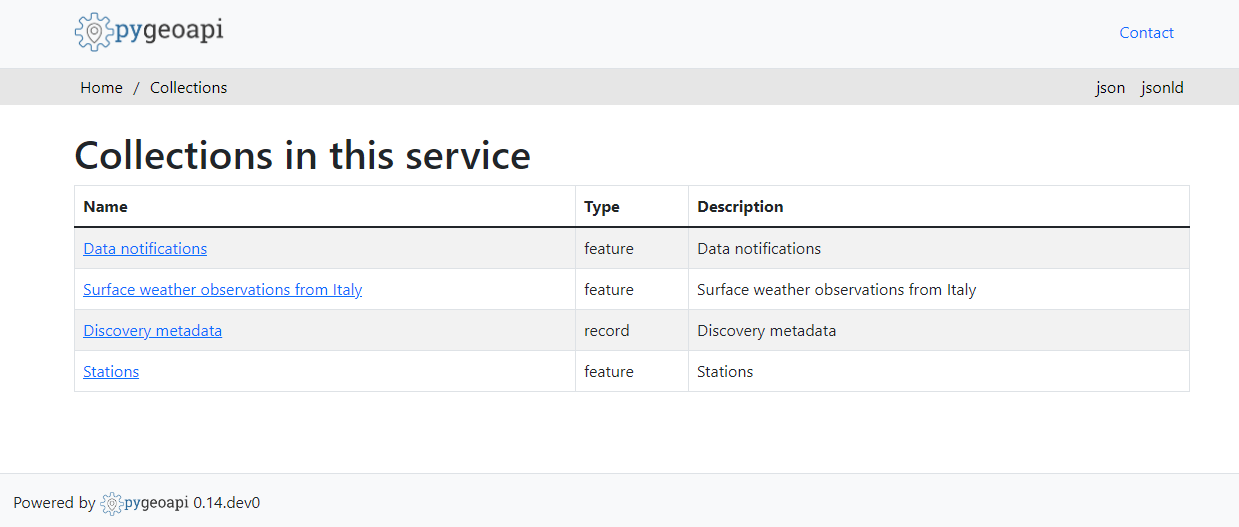
You can review the discovery metadata just cached through the new link in http://localhost/oapi/collections:

The final step is to publish your station information to the wis2box API from the station metadata list you prepared:
wis2box metadata station publish-collection
You can review the stations you just cached through the new link in http://localhost/oapi/collections:
You can now logout of wis2box-management container:
exit
The next is the Data ingest setup.