
Data ingest setup
The runtime component of wis2box is data ingestion. This is an event driven workflow driven by S3 notifications from uploading data to wis2box storage.
The wis2box storage is provided using a MinIO container that provides S3-compatible object storage.
Any file received in the wis2box-incoming storage bucket will trigger an action to process the file.
What action to take is determined by the data-mappings.yml you’ve setup in the previous section.
MinIO user interface
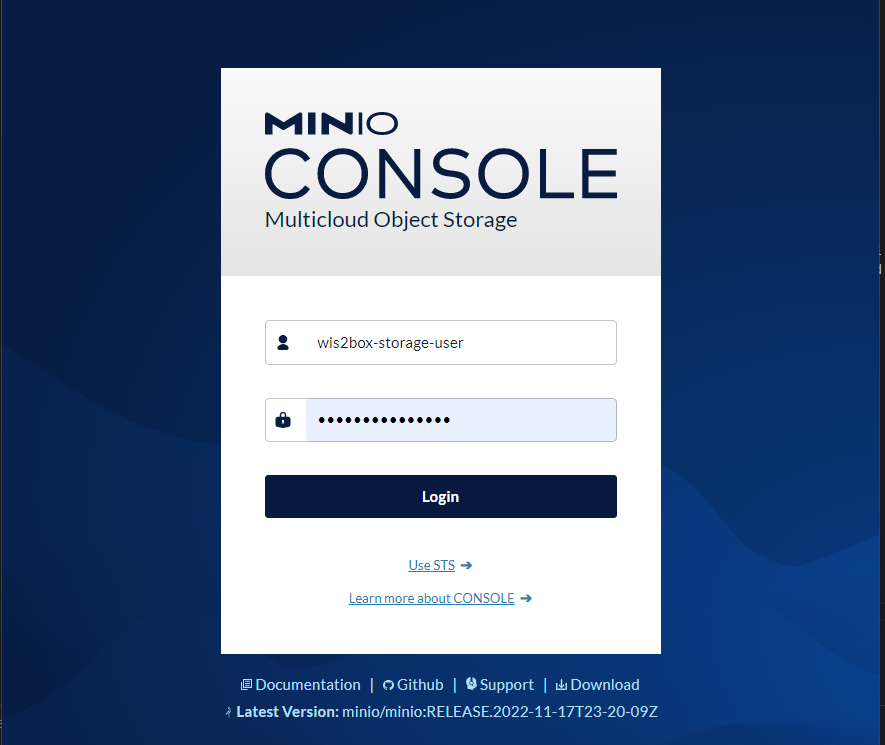
To access the MinIO user interface, visit http://localhost:9001 in your web browser.
You can login with your WIS2BOX_STORAGE_USERNAME and WIS2BOX_STORAGE_PASSWORD:
To test the data ingest, add a sample file for your observations in the wis2box-incoming storage bucket.
Select ‘browse’ on the wis2box-incoming bucket and select ‘Choose or create a new path’ to define a new folder path:
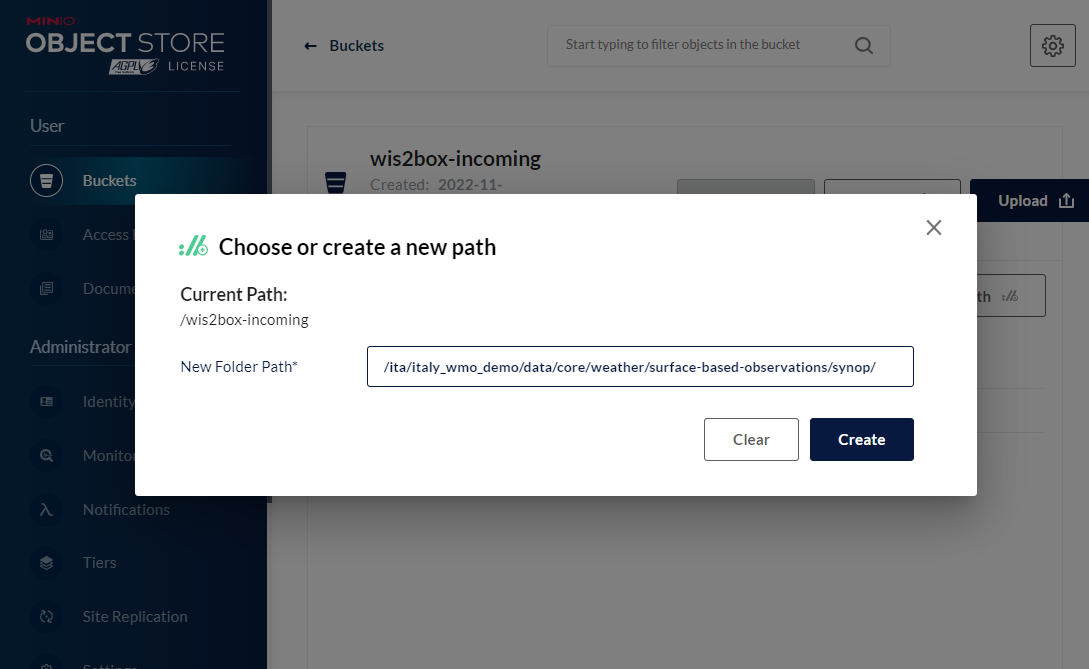
Note
The folder in which the file is placed defines the dataset for the data you are sharing. For example, for dataset foo.bar, store your file in the path /foo/bar/.
The path is also used to define the topic hierarchy for your data (see WIS2 topic hierarchy). The first 3 levels of the WIS2 topic hierarchy origin/a/wis2 are automatically included by wis2box when publishing data notification messages.
The error message
Topic Hierarchy validation error: No plugins for minio:9000/wis2box-incoming/... in data mappingsindicates you stored a file in a folder for which no matching dataset was defined in yourdata-mappings.yml.
After uploading a file to wis2box-incoming storage bucket, you can browse the content in the wis2box-public bucket. If the data ingest was successful, new data will appear as follows:
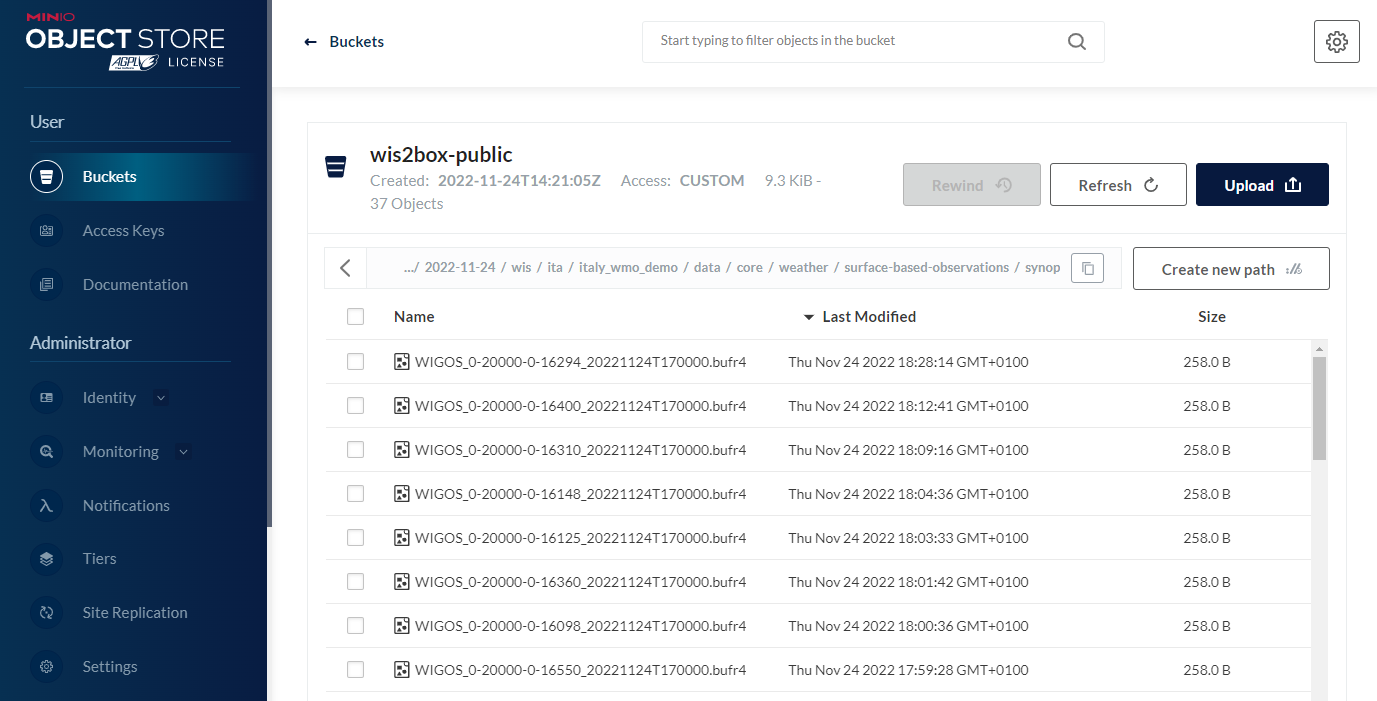
If no data appears in the wis2box-public storage bucket, you can inspect the logs from the command line:
python3 wis2box-ctl.py logs wis2box
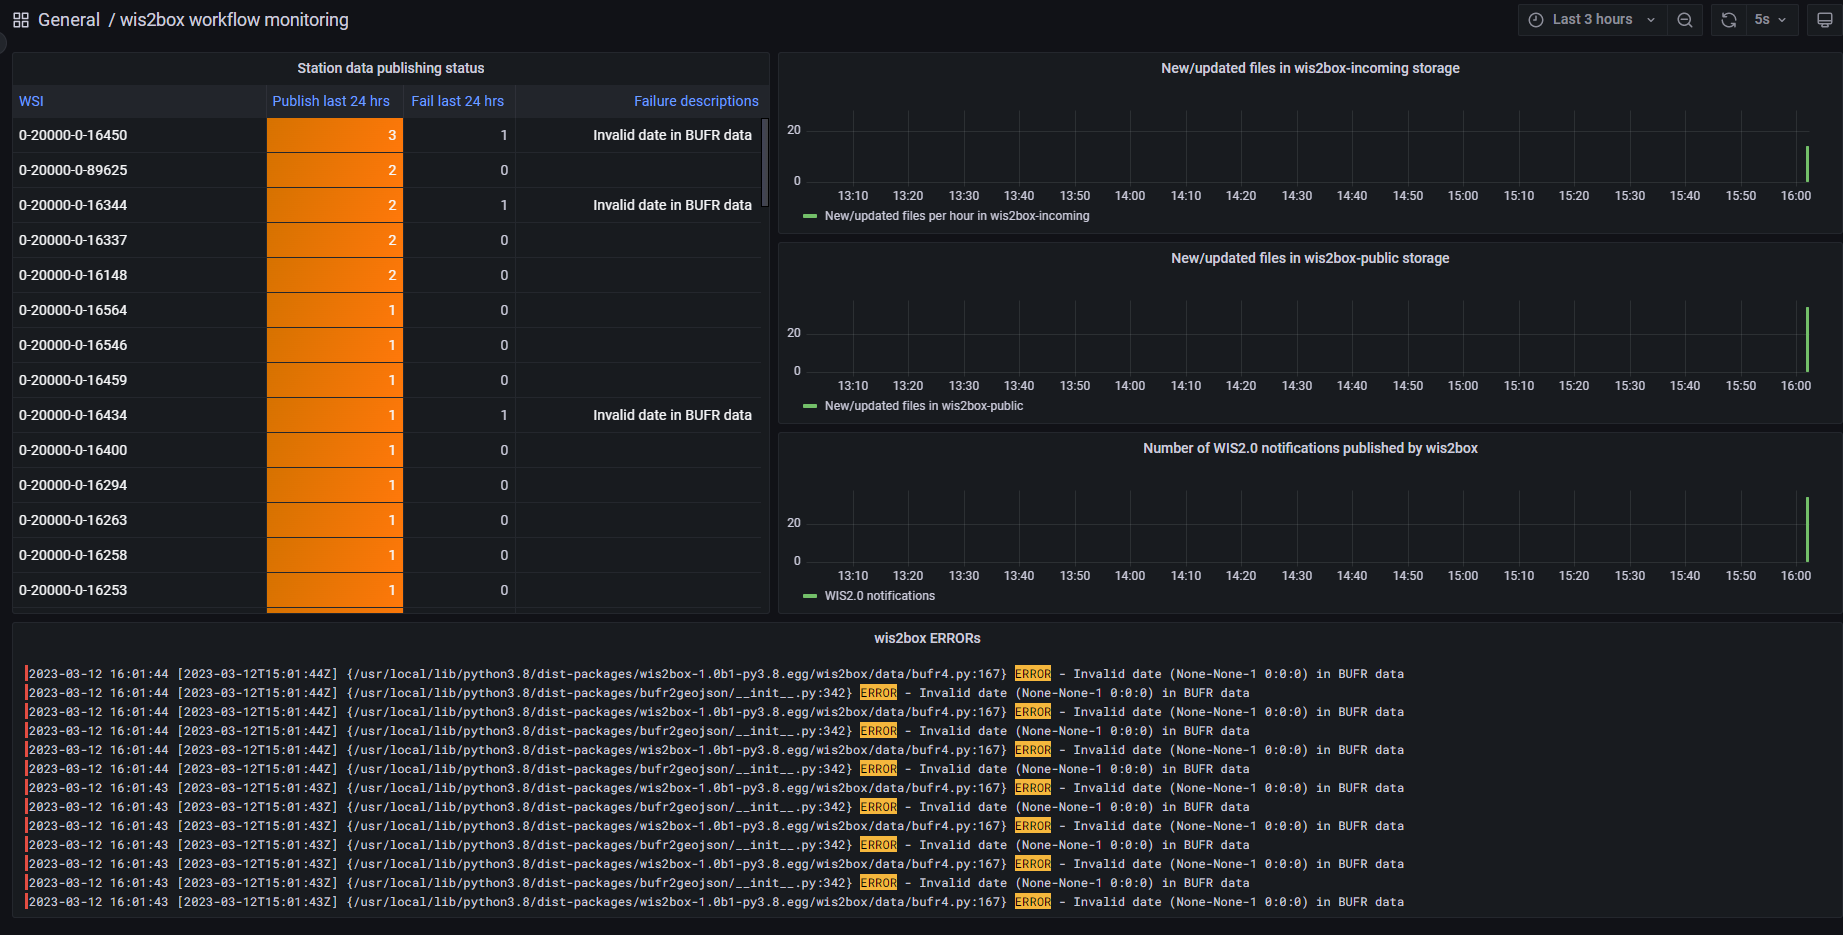
Or by visiting the local Grafana instance running at http://localhost:3000
wis2box workflow monitoring
The Grafana homepage shows an overview with the number of files received, new files produced and WIS2 notifications published.
The Station data publishing status panel (on the left side) shows an overview of notifications and failures per configured station.
The wis2box ERRORs panel (on the bottom) prints all ERROR messages reported by the wis2box-management container.
Once you have verified that the data ingest is working correctly you can prepare an automated workflow to send your data into wis2box.
Automating data ingestion
See below a Python example to upload data using the MinIO package:
import glob
import sys

from minio import Minio

filepath = '/home/wis2box-user/local-data/mydata.bin'
minio_path = '/ita/italy_wmo_demo/data/core/weather/surface-based-observations/synop/'

endpoint = 'http://localhost:9000'
WIS2BOX_STORAGE_USERNAME = '<your-wis2box-storage-username>'
WIS2BOX_STORAGE_PASSWORD = '<your-wis2box-storage-password>'

client = Minio(
    endpoint=endpoint,
    access_key=WIS2BOX_STORAGE_USERNAME,
    secret_key=WIS2BOX_STORAGE_PASSWORD,
    secure=is_secure=False)

filename = filepath.split('/')[-1]
client.fput_object('wis2box-incoming', minio_path+filename, filepath)
wis2box-ftp
You can add an additional service to allow your data to be accessible over FTP.
To use the docker-compose.wis2box-ftp.yml template included in wis2box, create a new file called ftp.env using any text editor, and add the following content:
MYHOSTNAME=hostname.domain.tld

FTP_USER=wis2box
FTP_PASS=wis2box123
FTP_HOST=${MYHOSTNAME}

WIS2BOX_STORAGE_ENDPOINT=http://${MYHOSTNAME}:9000
WIS2BOX_STORAGE_USER=minio
WIS2BOX_STORAGE_PASSWORD=minio123

LOGGING_LEVEL=INFO
and ensure MYHOSTNAME is set to your hostname (fully qualified domain name).
Then start the wis2box-ftp service with the following command:
docker-compose -f docker-compose.wis2box-ftp.yml --env-file ftp.env up -d
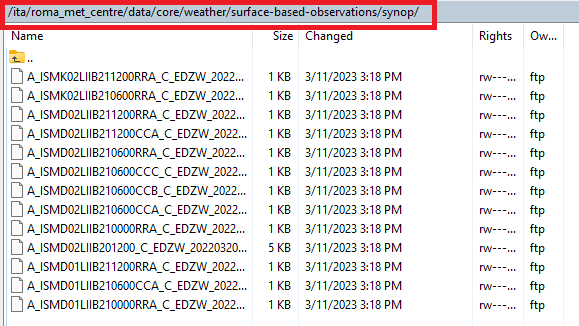
When using the wis2box-ftp service to ingest data, please note that the topic is determined by the directory structure in which the data arrives.
For example to correctly ingest data on the topic ita.roma_met_centre.data.core.weather.surface-based-observations.synop you need to copy the data into the directory /ita/roma_met_centre/data/core/weather/surface-based-observations/synop on the FTP server:
See the GitHub repository wis2box-ftp for more information on this service.
wis2box-data-subscriber
You can add an additional service on the host running your wis2box instance to allow data to be ingested by publishing an MQTT message to the wis2box broker.
This service subscribes to the topic data-incoming/# on the wis2box broker and parses the content of received messages and publishes the result in the wis2box-incoming bucket.
To start the wis2box-data-subscriber, add the following additional variables to dev.env:
COUNTRY_ID=zmb  # set country_id used in wis2-topic-hierarchy
CENTRE_ID=zmb_met_centre  # set centre_id for wis2-topic-hierarchy
These variables determine the destination path in the wis2box-incoming bucket:
{COUNTRY_ID}/{CENTRE_ID}/data/core/weather/surface-based-observations/synop/
You then you can activate the optional ‘wis2box-data-subscriber’ service as follows:
docker-compose -f docker-compose.data-subscriber.yml --env-file dev.env up -d
See the GitHub wis2box-data-subscriber repository for more information on this service.
Next steps
After you have successfully setup your data ingest process into the wis2box, you are ready to share your data with the global WIS2 network by enabling external access to your public services.
Next: Public services setup